Applications and Examples
Test with the Robot
To test if everything is working properly (i.e. connection to robot is working
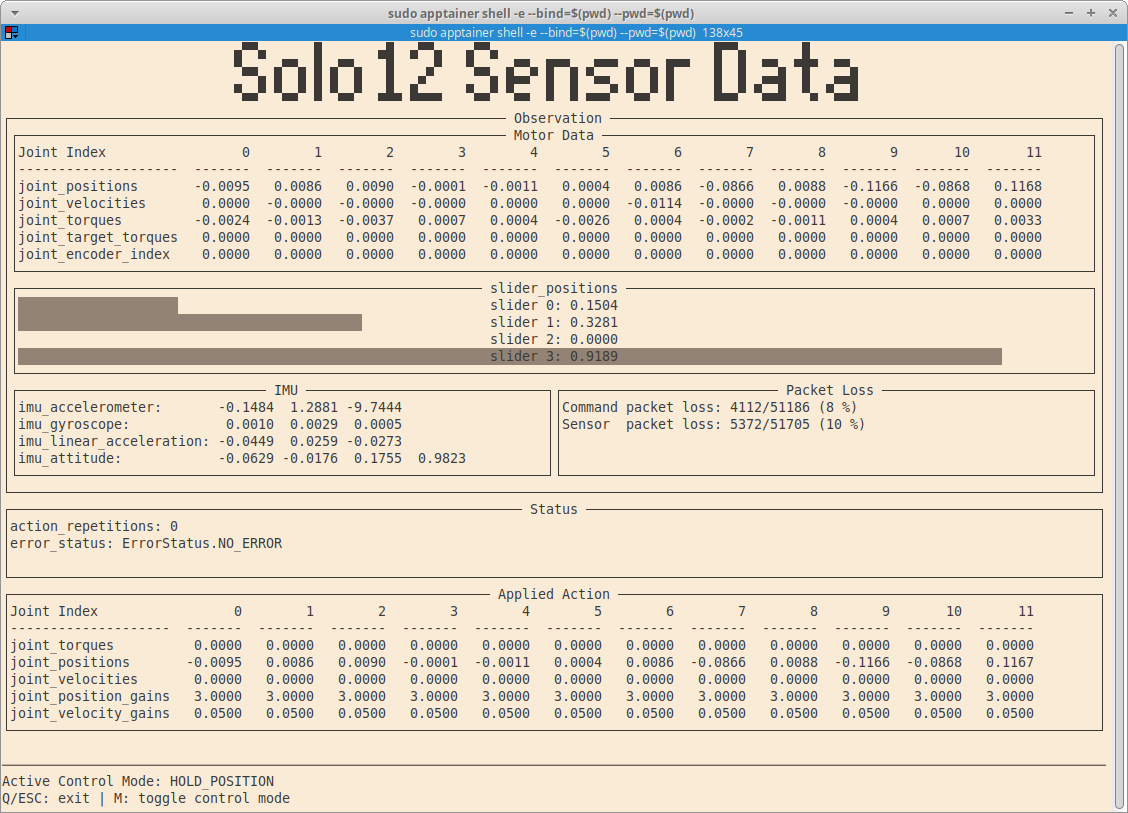
and all sensor data is transferred correctly, there are the applications
solo8_show_data and solo12_show_data. They start the robot and then
simply holds all joints at the initial position while printing all observation
and status data. It can be run with (replace name accordingly for Solo8):
ros2 run robot_interfaces_solo solo12_show_data path/to/config.yml
It should look like this:

Examples
There are a few demos/examples showing the basic usage. The examples are for Solo12 but the interface is exactly the same for Solo8 (apart from the different number of joints).
demo_solo12_hold [C++]: Initialises the robot and then simply holds the
joints in place using position commands. It is implemented in
demos/demo_solo12_hold.cppand can be run withros2 run robot_interfaces_solo demo_solo12_hold path/to/config.yml
demo_solo12_sine [Python]: Initialises the robot and then moves all
joints back and forth using a sine profile. It is implemented in
demos/demo_solo12_sine.pyand can be run withros2 run robot_interfaces_solo demo_solo12_sine path/to/config.yml
demo_solo12_simulation [Python]: Shows how to use a simulation backend,
including directly accessing the simulation to obtain additional data. It is implemented in
demos/demo_solo12_simulation.pyand can be run withros2 run robot_interfaces_solo demo_solo12_simulation
These demos should give an idea on how to use robot_interfaces with the Solo12 driver.